Hackmd 安裝 & 基本設定
介紹
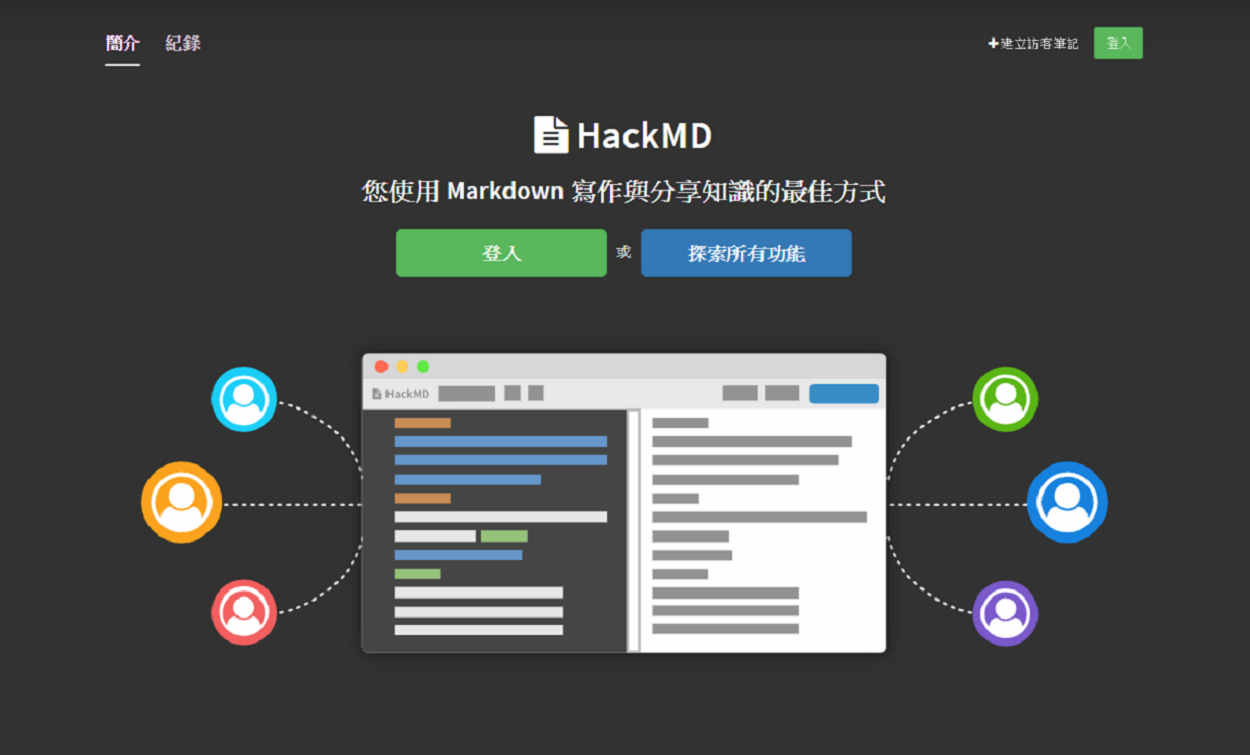
HackMD 是個跨平台的 Markdown 即時協作筆記
所以您可以在電腦、平板甚至是手機與其他人做筆記!
同時也可以在 首頁 透過 Facebook、Twitter、GitHub、Dropbox 登入,也可以私人使用加入了LDAP,網域登入管理
環境
- CentOS Linux release 7.4.1708 (Core)
- Hackmd
- MYSQL 5.6.38-2.el7
- Nginx 1.12.2
- nodejs 1:6.12.0-1.el7
安裝
安裝相依套件
[root@hackmd ~]# yum install curl git
安裝 nodejs & npm
[root@hackmd ~]# yum install epel-release
[root@hackmd ~]# yum install nodejs npm node-gyp  gcc gcc-c++
clone hackmd git
[root@hackmd ~]# cd /opt
[root@hackmd ~]# git clone https://github.com/hackmdio/hackmd.git
安裝 hackmd
[root@hackmd ~]# cp config.json.example config.json
[root@hackmd ~]# bin/setup
安裝 mysql 5.6.38-2.el7
[root@hackmd ~]# rpm -Uvh http://dev.mysql.com/get/mysql-community-release-el7-5.noarch.rpm
[root@hackmd ~]# yum install mysql-community-server
[root@hackmd ~]# systemctl start mysqld
[root@hackmd ~]# /usr/bin/mysql_secure_installation   #設定帳密
MYSQL 設定
MYSQL 建庫
[root@hackmd ~]# mysql -uroot -p
mysql> show databases;
+--------------------+
| Database           |
+--------------------+
| information_schema |
| mysql              |
| performance_schema |
+--------------------+
3 rows in set (0.00 sec)

mysql> CREATE DATABASE hackmd CHARACTER SET utf8 COLLATE utf8_general_ci;
Query OK, 1 row affected (0.00 sec)

mysql> show databases;
+--------------------+
| Database           |
+--------------------+
| information_schema |
| hackmd             |
| mysql              |
| performance_schema |
+--------------------+
4 rows in set (0.00 sec)

mysql> select host,user from mysql.user;
+-----------+------+
| host      | user |
+-----------+------+
| 127.0.0.1 | root |
| ::1       | root |
| localhost | root |
+-----------+------+
3 rows in set (0.00 sec)
Hackmd 相關配置
Hackmd mysql 連線
[root@hackmd ~]# vim /opt/hackmd/.sequelizerc

var path = require('path');

module.exports = {
    'config':          path.resolve('config.json'),
    'migrations-path': path.resolve('lib', 'migrations'),
    'models-path':     path.resolve('lib', 'models'),
    'url':             'change this'
}

修改 'url' : mysql://USERNAME:PASSWORD@localhost:3306/DBNAME


var path = require('path');

module.exports = {
    'config':          path.resolve('config.json'),
    'migrations-path': path.resolve('lib', 'migrations'),
    'models-path':     path.resolve('lib', 'models'),
    'url':             'mysql://root:XXXXXXX@localhost:3306/hackmd'
}
config.json 設定
有關其他參數設定可參考 : https://github.com/hackmdio/hackmd#third-party-integration-api-key-settings
{
    "production": {
        "domain": "hackmd.faqbook.net",
        "protocolusessl": true,
        "email": false,
        "allowanonymous": false,
        "usessl": false,
        "imageUploadType": "filesystem",
        "port": 8001,
        "db": {
            "username": "faqbook",
            "password": "XXXXX",
            "database": "mysql",
            "host": "localhost",
            "port": "3306",
            "dialect": "mysql"
            },

        "ldap": {
            "url": "ldap://IP",
            "bindDn": "username@XXX.local",
            "bindCredentials": "XXXXX",
            "searchBase": "dc=XXX,dc=local",
            "searchFilter":  "(&(objectcategory=person)(objectclass=user)(|(samaccountname={{username}})(mail={{username}})))"
            }


        }

}
啟動服務
可以設定成背景模式,要不然連線斷了服務就停了
[root@hackmd ~]# cd /opt/hackmd
[root@hackmd ~]# NODE_ENV='production' node app.js > /dev/null 2>&1
Nginx 安裝設定
安裝
[root@hackmd ~]# yum install epel-release
[root@hackmd ~]# yum install nginx -y
nginx.conf 設定
需要設定基本和HTTPS
# For more information on configuration, see:
#   * Official English Documentation: http://nginx.org/en/docs/
#   * Official Russian Documentation: http://nginx.org/ru/docs/

user nginx;
worker_processes auto;
error_log /var/log/nginx/error.log;
pid /run/nginx.pid;

# Load dynamic modules. See /usr/share/nginx/README.dynamic.
include /usr/share/nginx/modules/*.conf;

events {
    worker_connections 1024;
}

http {
    log_format  main  '$remote_addr - $remote_user [$time_local] "$request" '
                      '$status $body_bytes_sent "$http_referer" '
                      '"$http_user_agent" "$http_x_forwarded_for"';

    access_log  /var/log/nginx/access.log  main;

    sendfile            on;
    tcp_nopush          on;
    tcp_nodelay         on;
    keepalive_timeout   65;
    types_hash_max_size 2048;

    include             /etc/nginx/mime.types;
    default_type        application/octet-stream;

    # Load modular configuration files from the /etc/nginx/conf.d directory.
    # See http://nginx.org/en/docs/ngx_core_module.html#include
    # for more information.
    include /etc/nginx/conf.d/*.conf;

    server {
        listen       80 default_server;
        listen       [::]:80 default_server;
        server_name  _;
        root         /usr/share/nginx/html;

        # Load configuration files for the default server block.
        include /etc/nginx/default.d/*.conf;

        location / {
        }

        error_page 404 /404.html;
            location = /40x.html {
        }

        error_page 500 502 503 504 /50x.html;
            location = /50x.html {
        }
    }

# Settings for a TLS enabled server.
#
    server {
        listen       443 ssl http2 default_server;
        server_name  _;
        root         /usr/share/nginx/html;


        ssl_protocols               TLSv1.2 TLSv1.1 TLSv1;
        ssl_ciphers 'ECDHE-ECDSA-AES256-GCM-SHA384:ECDHE-RSA-AES256-GCM-SHA384:ECDHE-ECDSA-CHACHA20-POLY1305:ECDHE-RSA-CHACHA20-POLY1305:ECDHE-ECDSA-AES128-GCM-SHA256:ECDHE-RSA-AES128-GCM-SHA256:ECDHE-ECDSA-AES256-SHA384:ECDHE-RSA-AES256-SHA384:ECDHE-ECDSA-AES128-SHA256:ECDHE-RSA-AES128-SHA256';
        ssl_prefer_server_ciphers on;
        ssl_certificate "/etc/nginx/key/XXXX.crt";
        ssl_certificate_key "/etc/nginx/key/XXXX.key";
        ssl_session_cache shared:SSL:1m;
        ssl_session_timeout  10m;

        ssl_dhparam "/etc/nginx/key/dhparams.pem";

        # Load configuration files for the default server block.
        ##include /etc/nginx/default.d/*.conf;

        location / {
        }

        error_page 404 /404.html;
            location = /40x.html {
        }

        error_page 500 502 503 504 /50x.html;
            location = /50x.html {
        }
    }

}
hackmd.conf
server {
    listen 80;
    server_name hackmd.faqbook.net;
    return 301 https://hackmd.faqbook.net;
}
server {
    listen 443 ssl http2 ;
    server_name hackmd.faqbook.net;
    location / {
    proxy_http_version 1.1;
    proxy_set_header Upgrade $http_upgrade;
    proxy_set_header Connection 'upgrade';
    proxy_set_header Host $host;
    proxy_pass http://hackmd:8001;
    }
}
服務器啟用與停止
systemctl start    nginx.service
systemctl stop     nginx.service
systemctl restart  nginx.service
參考文件
參數設定 & GitHub
https://github.com/hackmdio/hackmd#third-party-integration-api-key-settings
Hackmd 安裝
https://qiita.com/kumagi/items/ec948c957910cd052056
https://qiita.com/miyahan/items/005f7b7dd7971a4a3716
MySQL 安裝
https://linode.com/docs/databases/mysql/how-to-install-mysql-on-centos-7/
Install Nginx
https://www.digitalocean.com/community/tutorials/how-to-install-nginx-on-centos-7
postgresql
https://mozillazg.com/2014/06/hello-postgresql.html
http://tw.gitbook.net/postgresql/2013080782.html
https://dotblogs.com.tw/jovepaterlab/2017/04/17/222958
https://www.jianshu.com/p/7e95fd0bc91a
更多文章參考FAQBOOK

你好,我想請問一下hackmd.config 還有nginx的部分可以多加詳解一下嗎,自己照著上面的步驟做了在這裡有點卡住不太了解